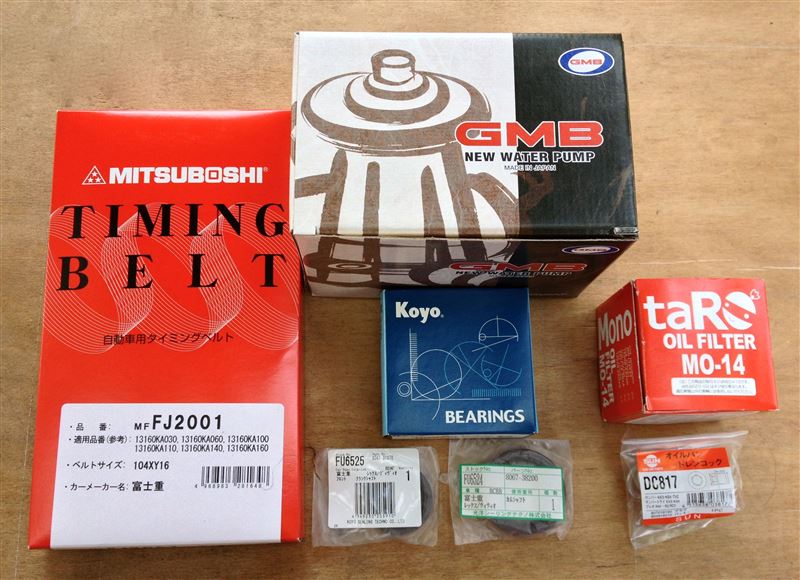
Now that we’ve removed the timing belt components, it’s time to replace them.
These are the parts we prepared:
- Timing belt
- Water pump
- Tensioner bearing
- Oil seal (crankshaft, front)
- Oil seal (camshaft, front)
- Engine oil filter
- Oil drain bolt (with washer)
The oil drain bolt usually does not need to be replaced. In this case, we’re replacing it because the head of the oil drain bolt is rounded.
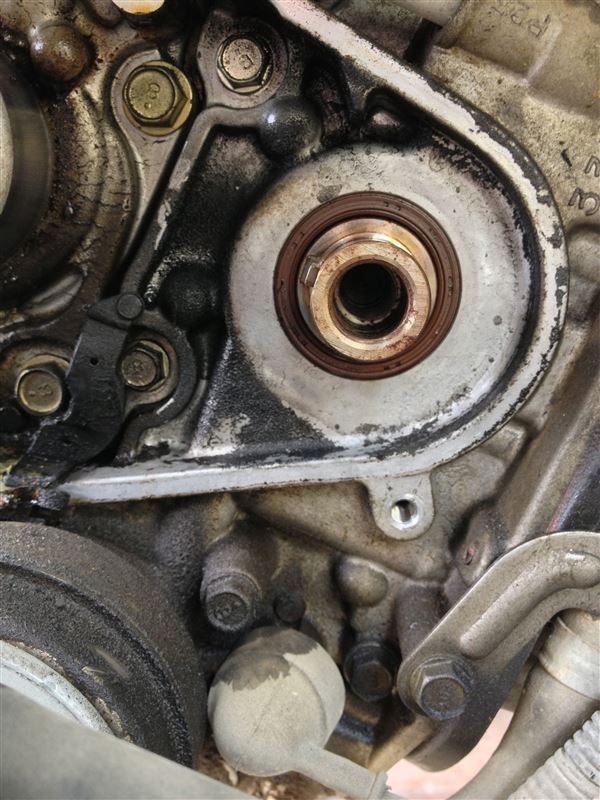
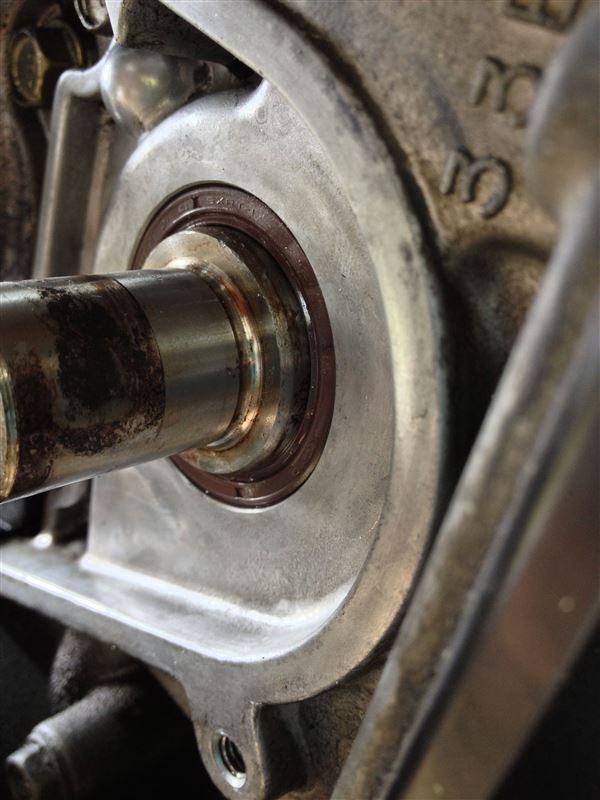
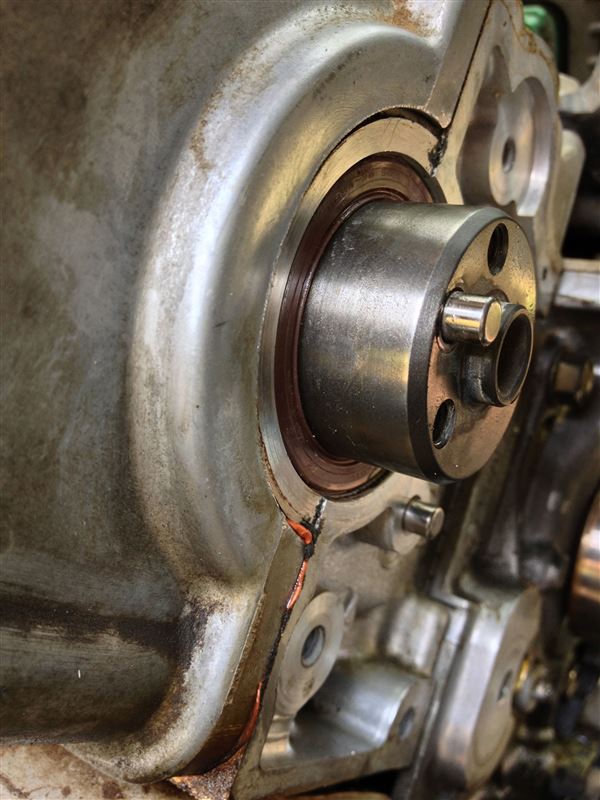
Remove the crankshaft oil seal.
Be careful not to scratch the shaft.
I poked the oil seal with something like the tip of a screwdriver and scooped it out, being careful not to scratch the surrounding area.
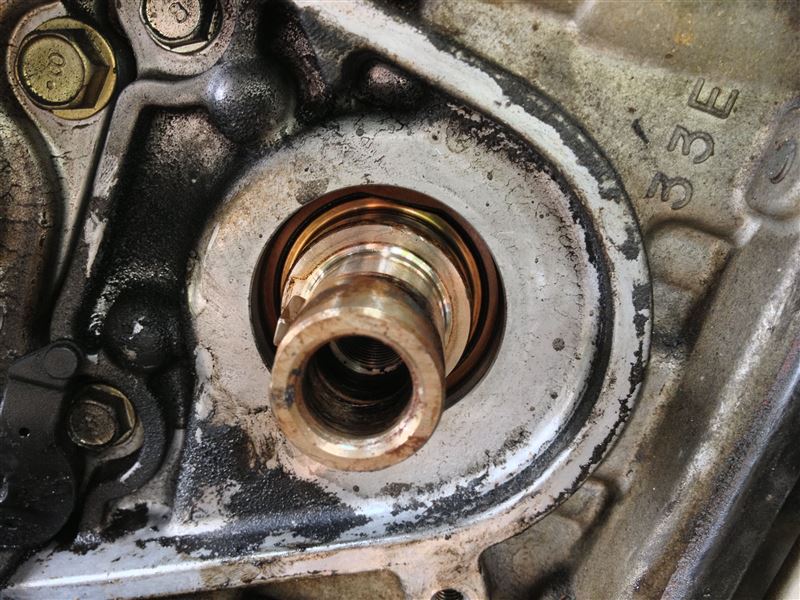
Once the oil seal is removed it will look like this.
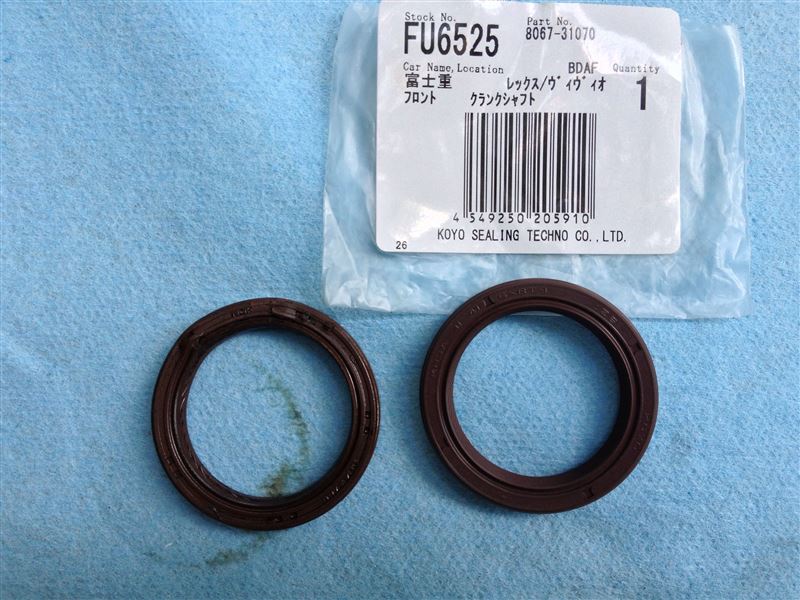
Here’s a comparison photo of the old and new oil seals.
The old seal (left) was deformed when removed.
Insert the new oil seal.
Be careful not to twist or turn it over.
It’s best to use a special tool to insert it, but I didn’t have one so I used a piece of wood as a support and hammered it in little by little with a plastic hammer.
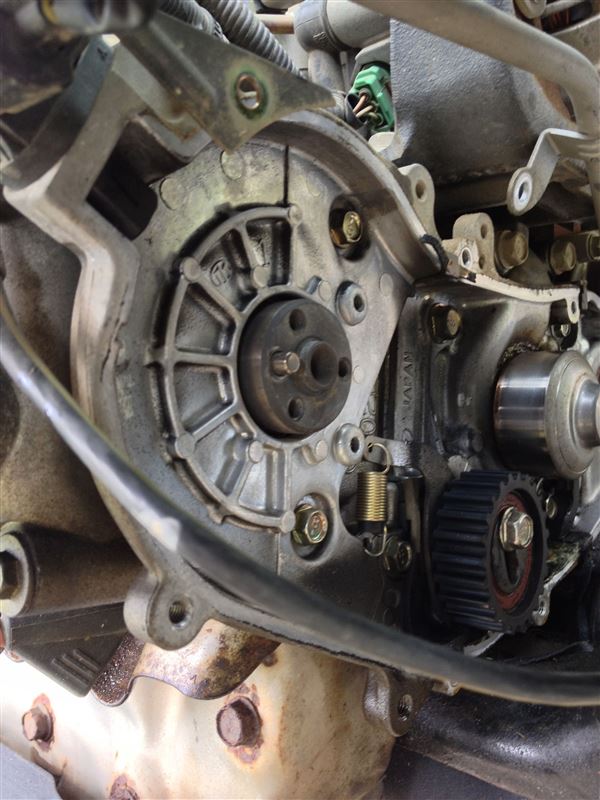
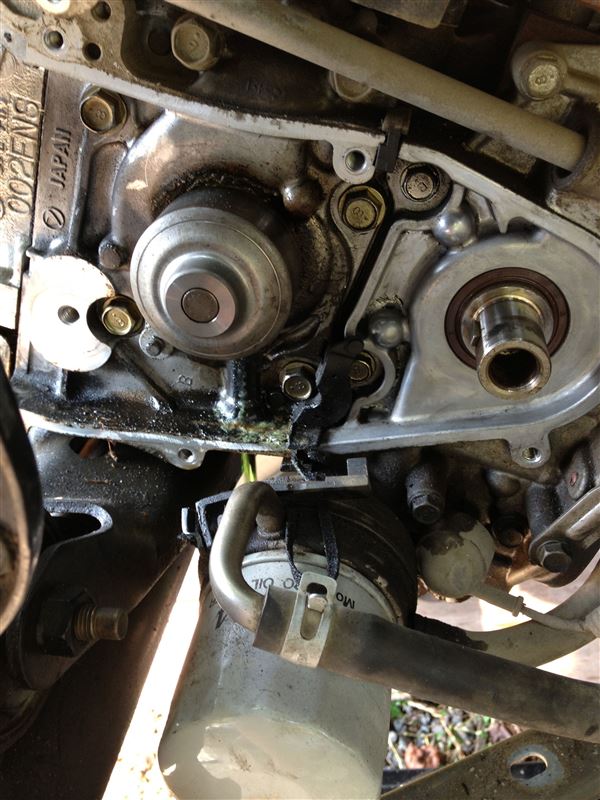
Next, we will replace the oil seal on the camshaft side.
First, remove the two bolts on the back cover and remove the back cover.
Remove the oil seal.
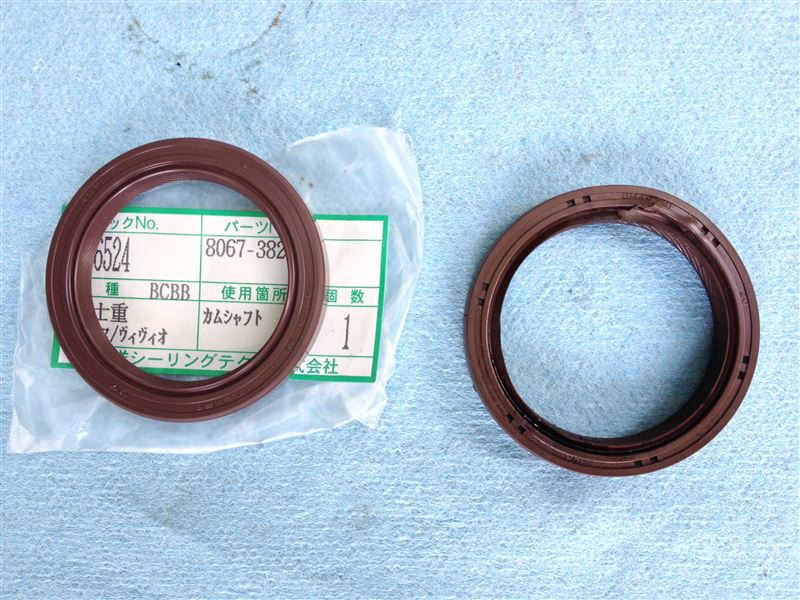
Here’s a comparison photo of the old and new oil seals.
The old seal (right) was deformed when it was removed.
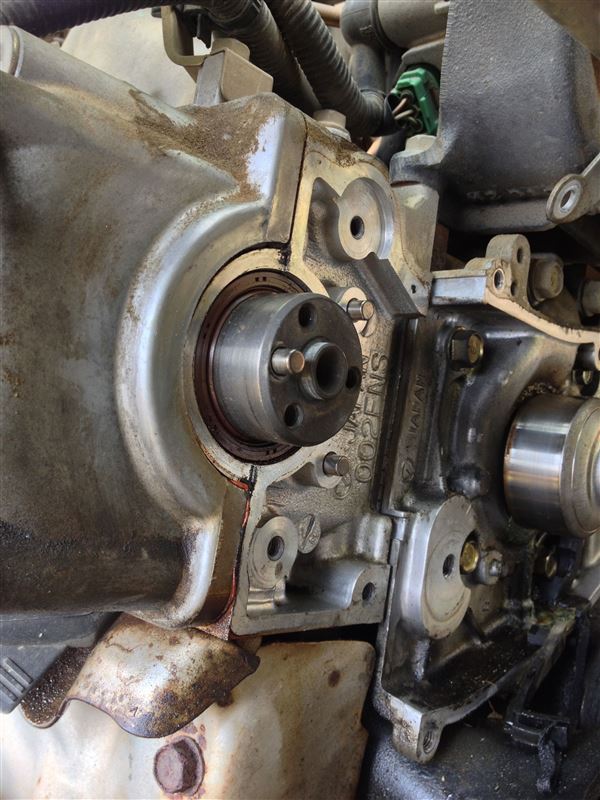
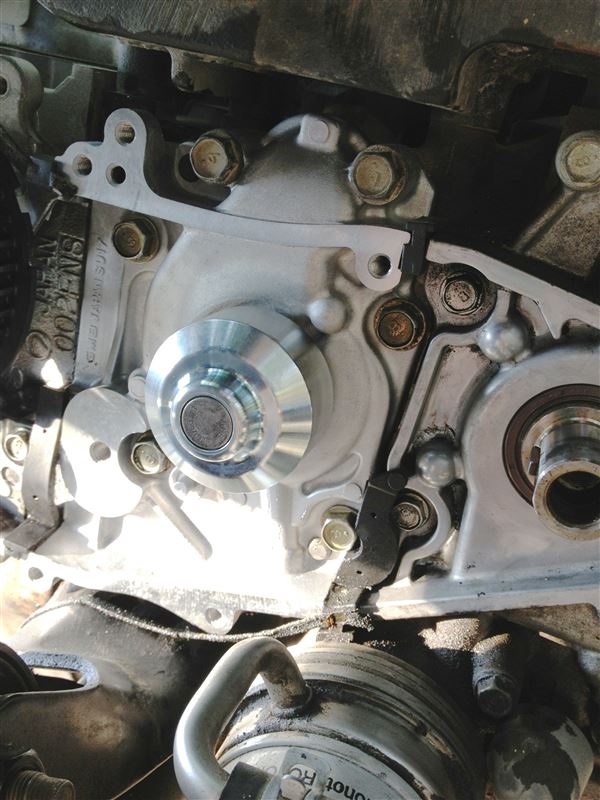
Insert a new oil seal.
Be careful not to twist or turn it over.
The procedure is the same as for the crankshaft.
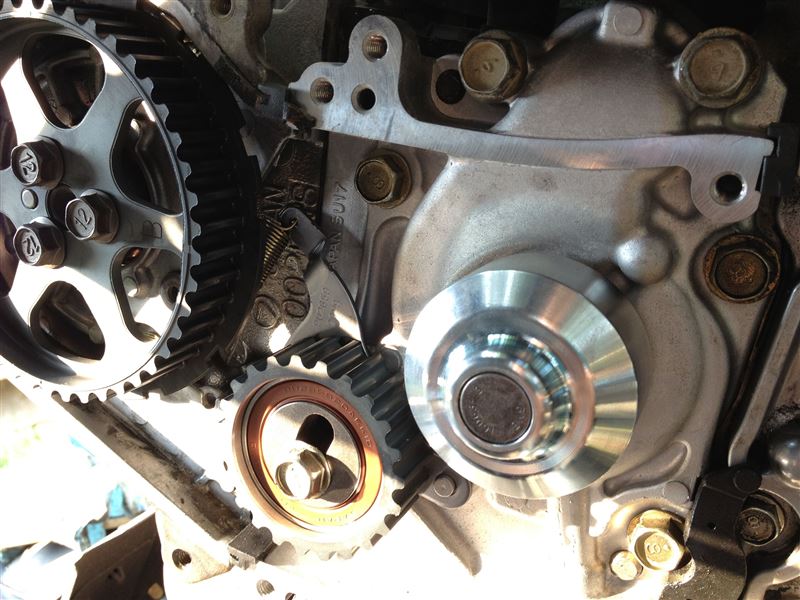
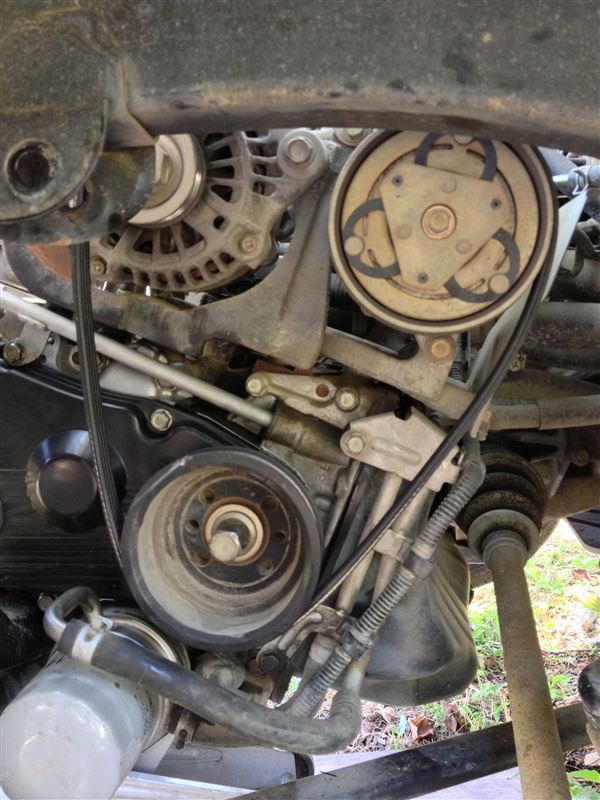
Before removing the water pump, drain the coolant.
There is a drain bolt on the underside of the water pump.
In the photo, the escaping coolant can be seen behind the oil filter, so you should be able to see the approximate location of the drain.
Once the coolant has drained, remove the six bolts securing the water pump and remove the water pump.

The water pump has been removed.
There are rubber gaskets on all four corners, so be sure to keep them in place so you don’t lose them.
Install the new water pump.
Attach the inner sealing rubber to the pump with grease before installation.
Fit the pump in place, being careful not to let the sealing rubber fall off.
Also fit the rubber gaskets on the four corners.
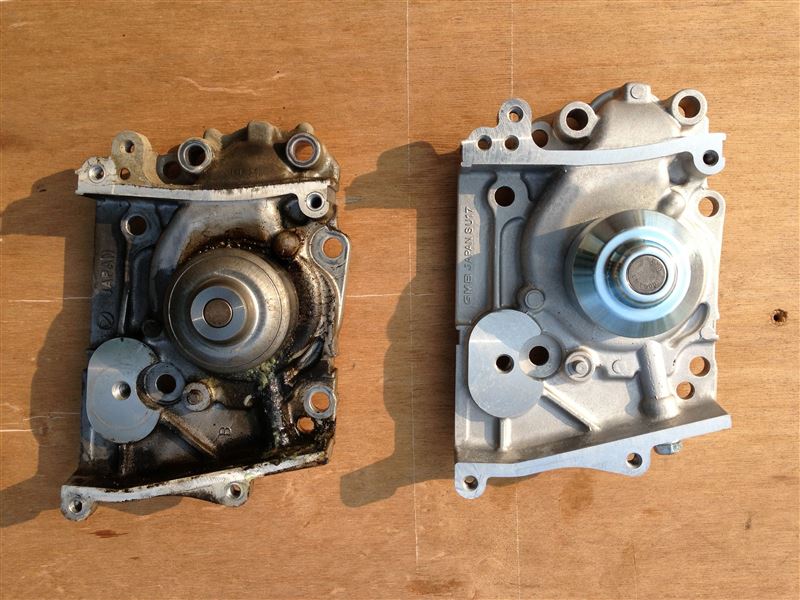
Here’s a comparison photo of the old and new water pumps.
The drain bolt has been removed from the old one and is not visible in the photo.
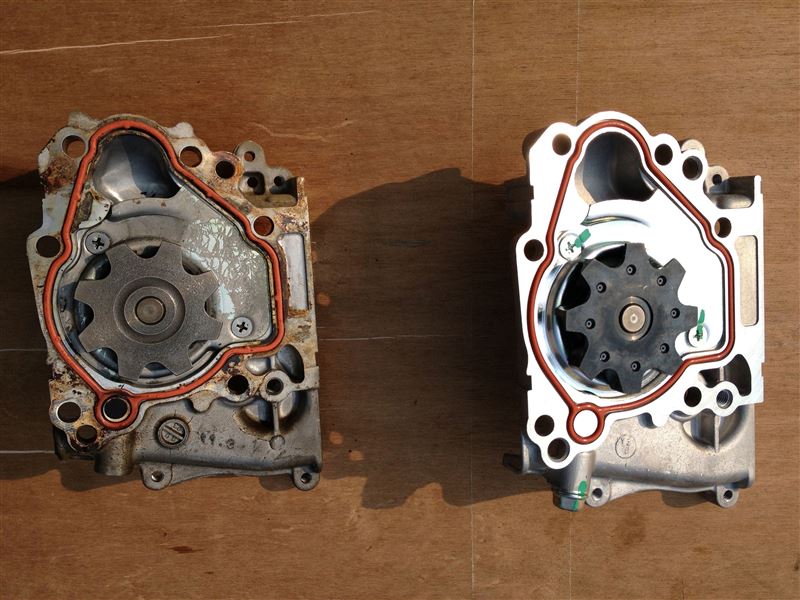
Comparison photo of the inside of the old and new water pump.
Replace the tensioner.
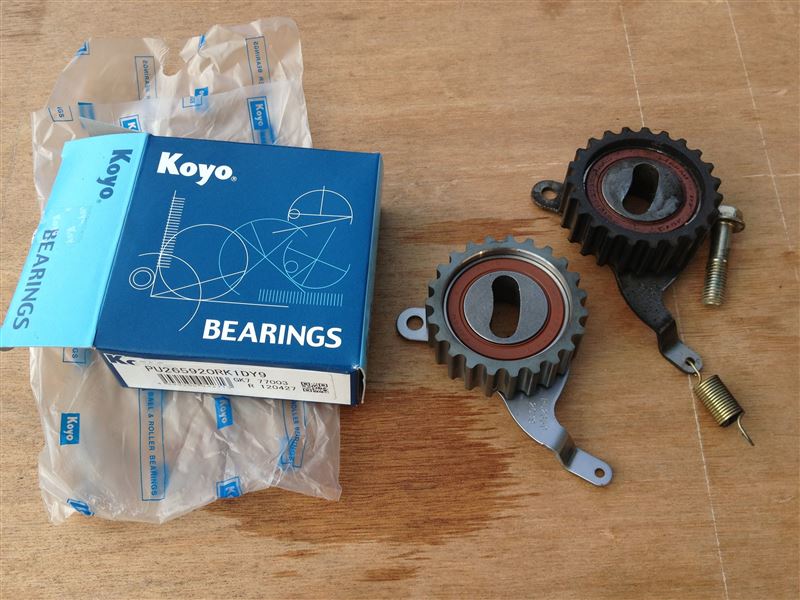
Comparison photo of the old and new tensioner.
Push the tensioner all the way up to secure it in place.
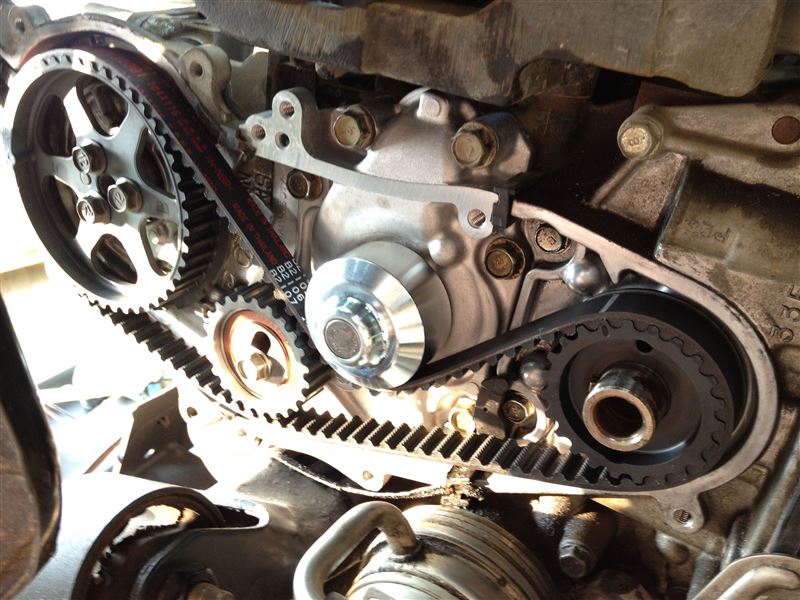
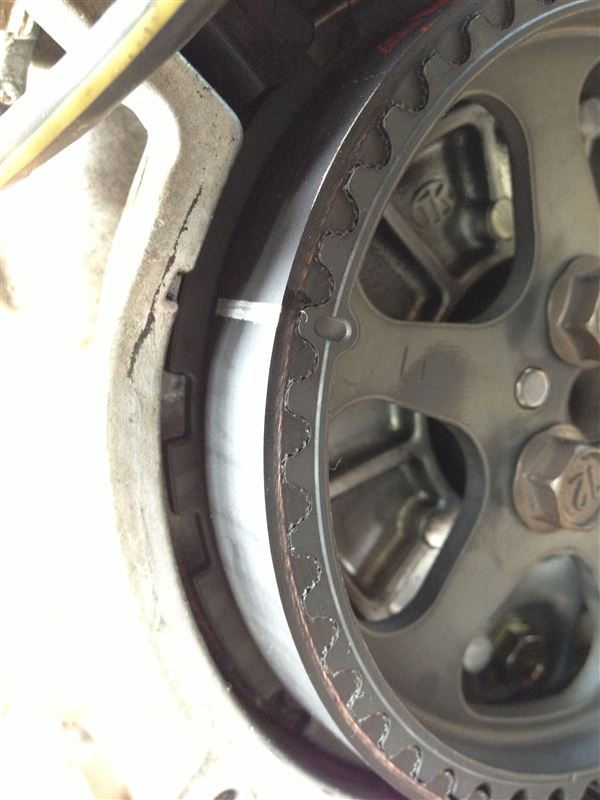
Fit the timing belt.
The timing belt has two marks; align one with the alignment mark on the crankshaft and the other with the alignment mark on the camshaft.
Loosen the tensioner fixing bolt so that the tensioner uses spring force to tension the belt.
Tighten the tensioner fixing bolt once, then turn the crankshaft to check that the tension stabilizes.
Loosen the tensioner fixing bolt again and check the tension. Turn the crankshaft if necessary to stabilize the tension.
Tighten the tensioner fixing bolt.
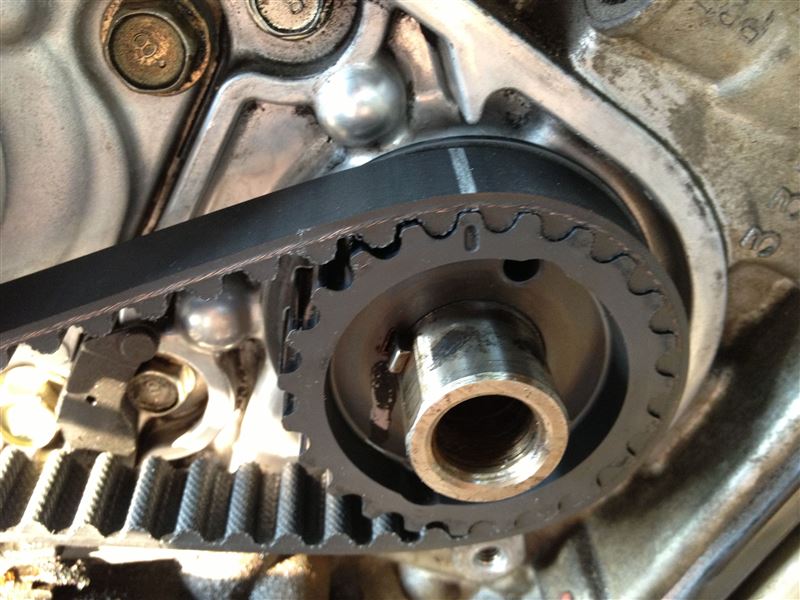
Alignment mark on the crankshaft
Alignment mark on the camshaft
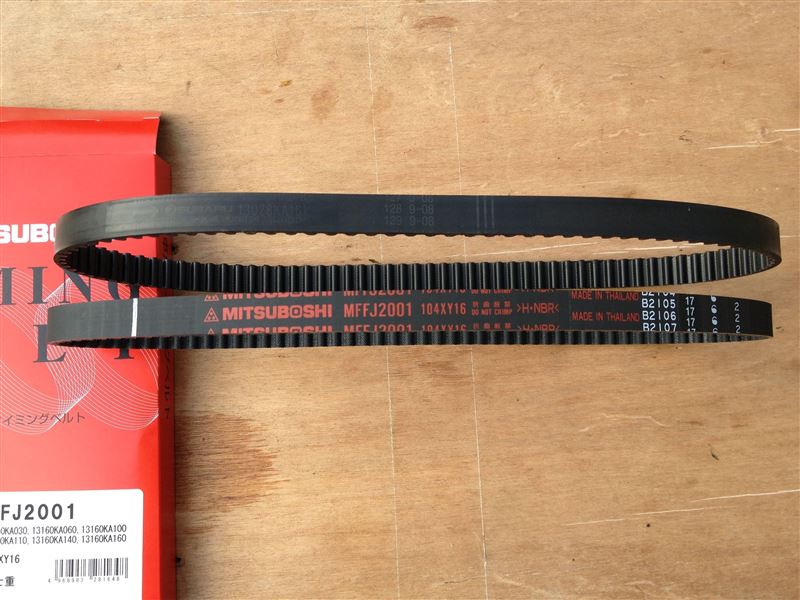
A comparison of the old and new timing belts.
The top is the old belt and the bottom is the new belt.
To be continued
Comments