I was having trouble getting the rear drive shaft out.
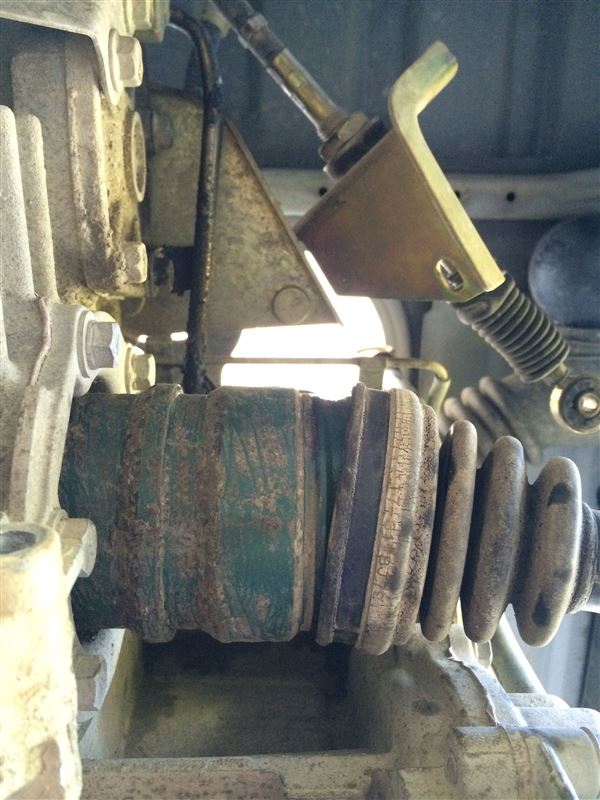
The photo shows the connection between the rear left side drive shaft and the transmission.
When I searched online, I found various suggestions, such as hitting it with a hammer to get it out, but while if the car was raised high on a lift I might have enough room to swing the hammer around, when I was lying on my back and crawling under the car I couldn’t put any force into the hammer.
Plus, I was afraid of getting crushed under the car if I hit it too hard…
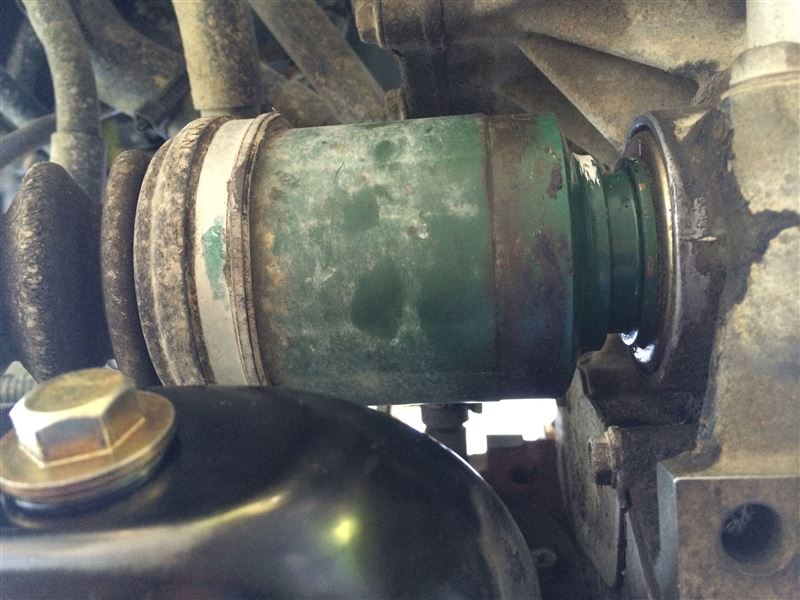
This photo shows the connection between the driveshaft and transmission on right side of the rear wheels.
After much deliberation about how to remove it, I created a jig by cutting a U-shape out of a 10mm thick aluminum plate to fit the groove in the DOJ (the green part in the photo).
I fitted the U-shape into the groove and drove a drill drift (a wedge-shaped piece of metal) between the jig and the transmission, and finally managed to remove it.

This is the removed drive shaft.
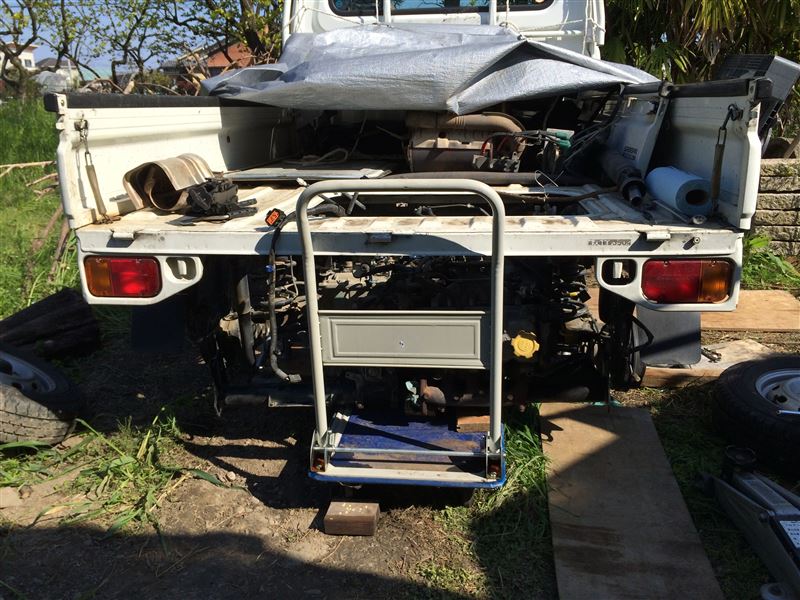
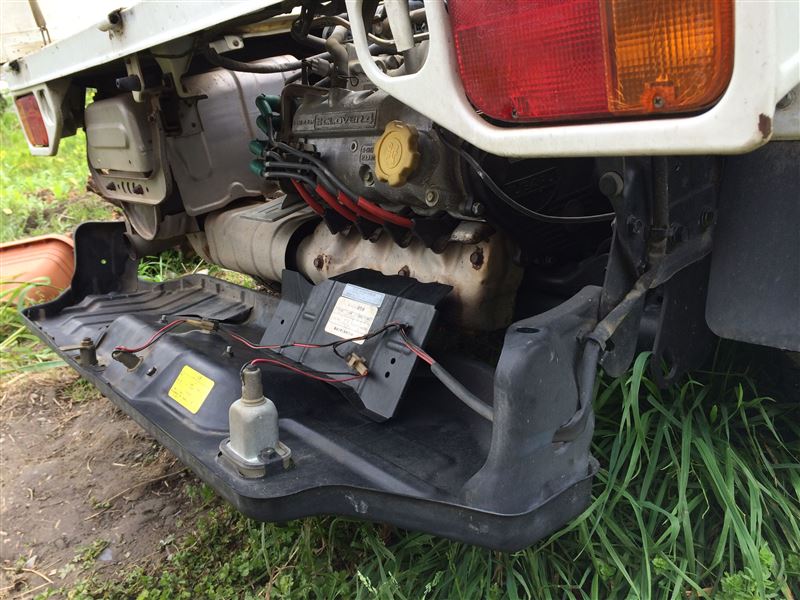
The propeller shaft was also removed, the LLC drained, the pipes removed, and the engine oil drained.
The front engine mount was removed, a dolly was placed under the engine, and the cross member on which the rear engine mount sits was supported with a jack while the mounting bolts were removed and the engine was lowered.
We have now successfully removed the engine.

This is the side of the vehicle without the engine.
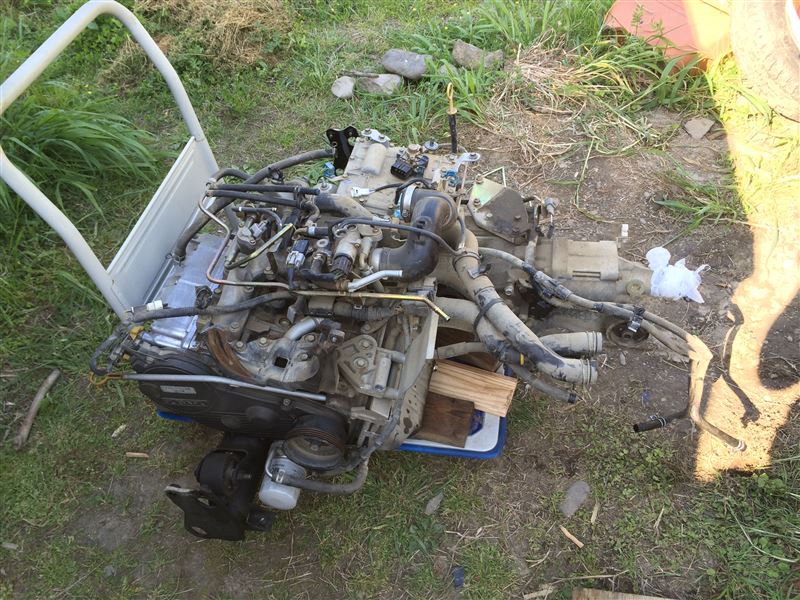
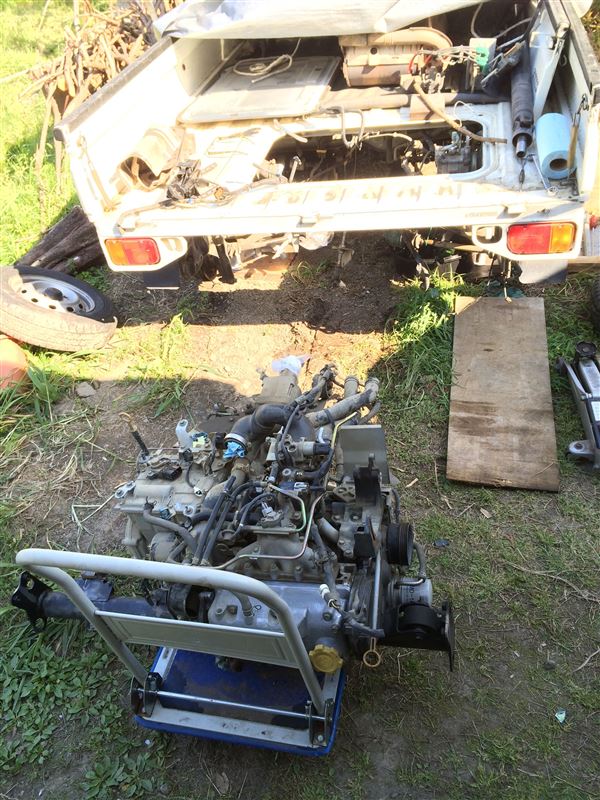
A commemorative photo of the removed engine.
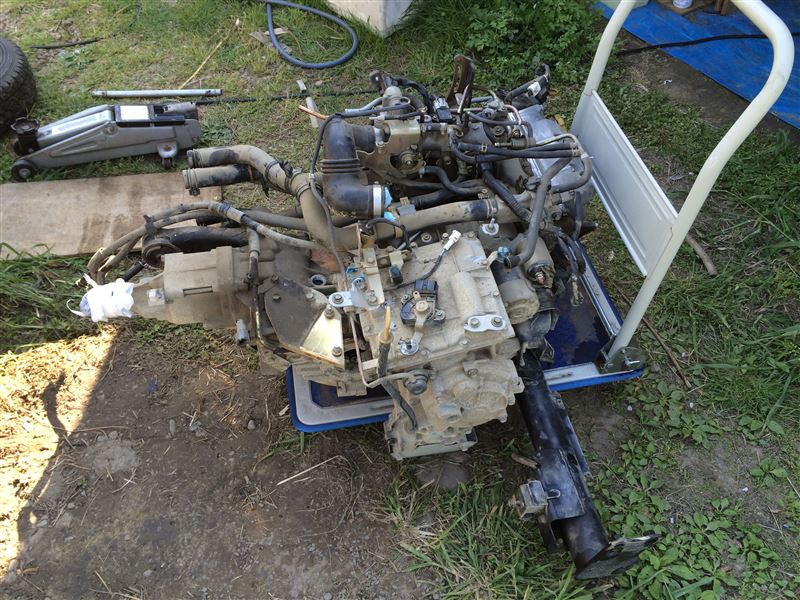
One more commemorative photo.
It was getting late in the evening, and I was feeling not only a sense of accomplishment but also exhausted, so I decided to call it a day.
The engine was heavy even when placed on the cart. (^_^;)

Comments