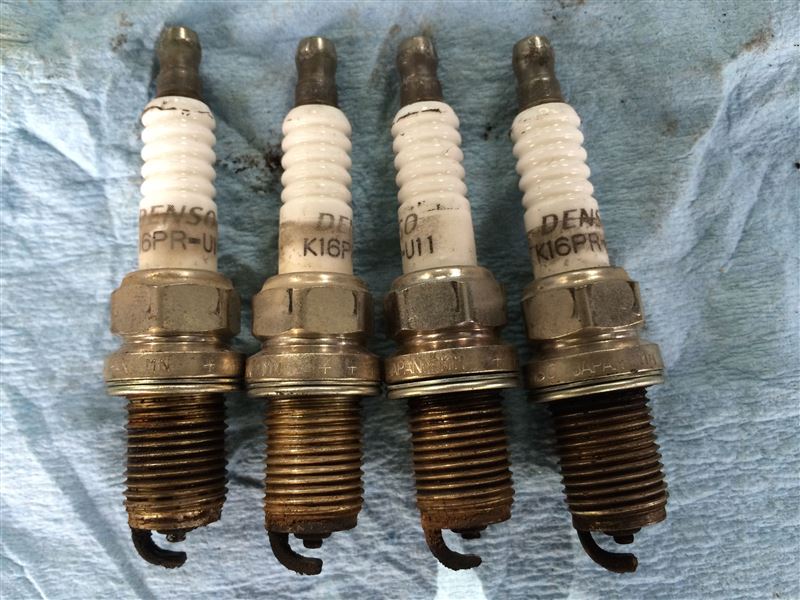
Now that the engine is running without any problems, I’m going to try to get it running again.
When I bought the car, I was told that the front driveshaft was bad and that the right front disc was completely worn out.
I wasn’t really sure what “a completely worn out disc” meant, but when I stepped on the brake pedal, it just went to the floor with no effect, so I decided to try to fix it.
Remove the wheels and remove the axle nuts (driveshaft end nuts).
For the Sambar, the service manual states that removing the axle nuts with the tires on the ground will damage the hub bearings, so you should always lift the car up and remove the wheels before loosening the axle nuts.
The other day, when I replaced the driveshaft on my Wagon R, the Suzuki service manual said to loosen the axle nuts with the tires on the ground to prevent the driveshaft from turning.
In practice, the axle nuts are removed with minimal load on the wheels, but it seems that maintenance procedures vary from manufacturer to manufacturer.
For now, I followed the instructions and removed the wheels and then removed the axle nuts with an impact wrench.
Specified torque: Axle nut, 177±20Nm
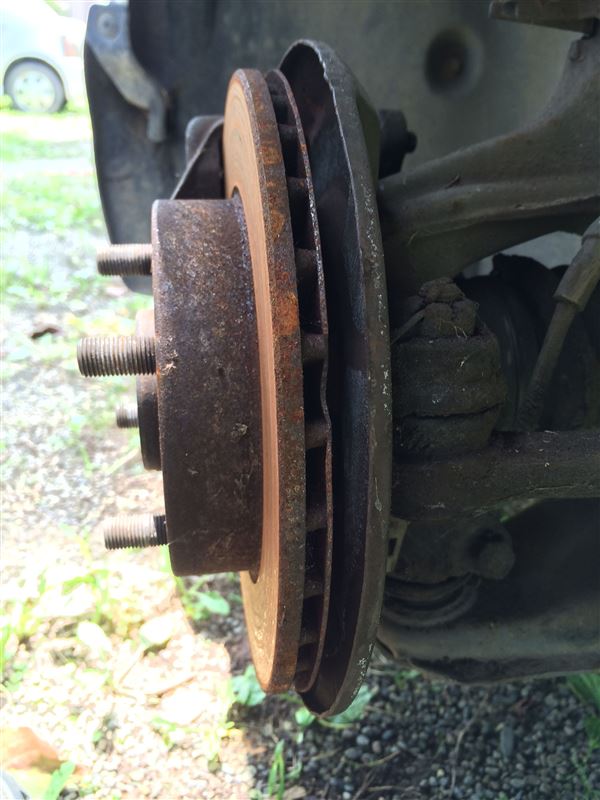
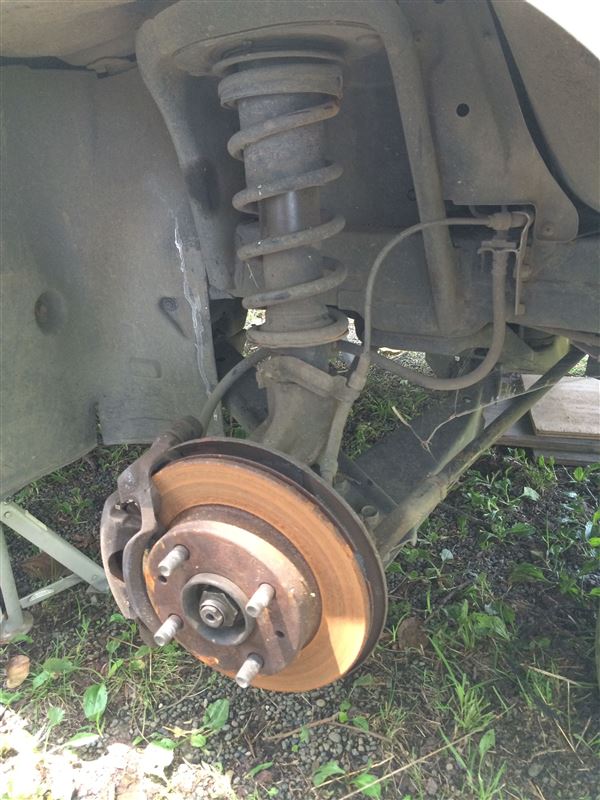
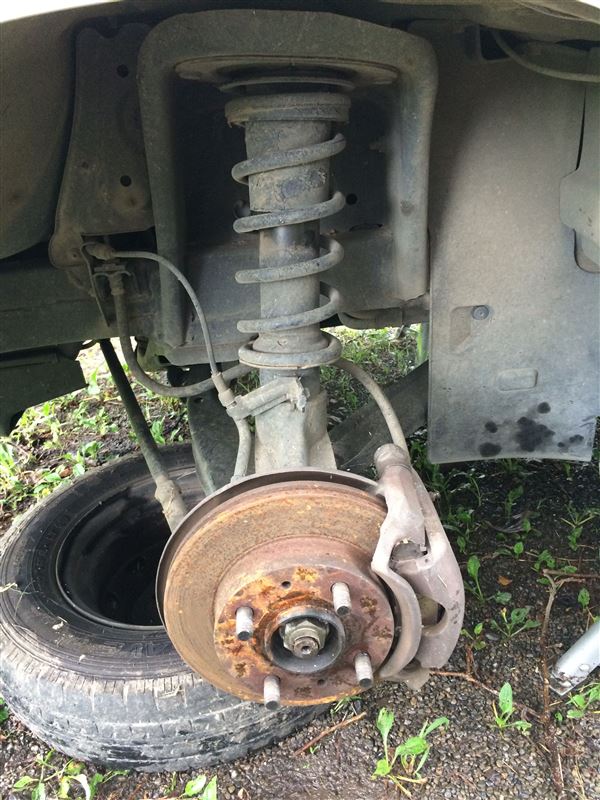
Once I removed the tire, it became clear what I meant about the disc being worn.
What uneven wear!! I’d never seen anything like it before!
The inner pad was missing, but I guess it was probably dragged along with the metal exposed.
“Would they really go that far?” I thought, but they did!
Oh dear…
Since your system is equipped with ABS, remove the ABS sensor.
Specified torque: ABS sensor fixing bolt, 18±5Nm
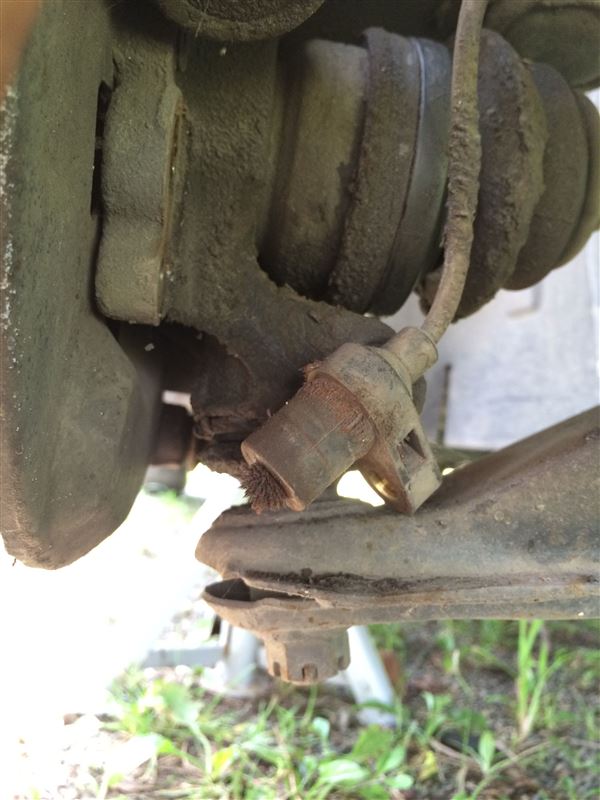
The ABS sensor has been removed.
There is metal powder attached to the sensor.
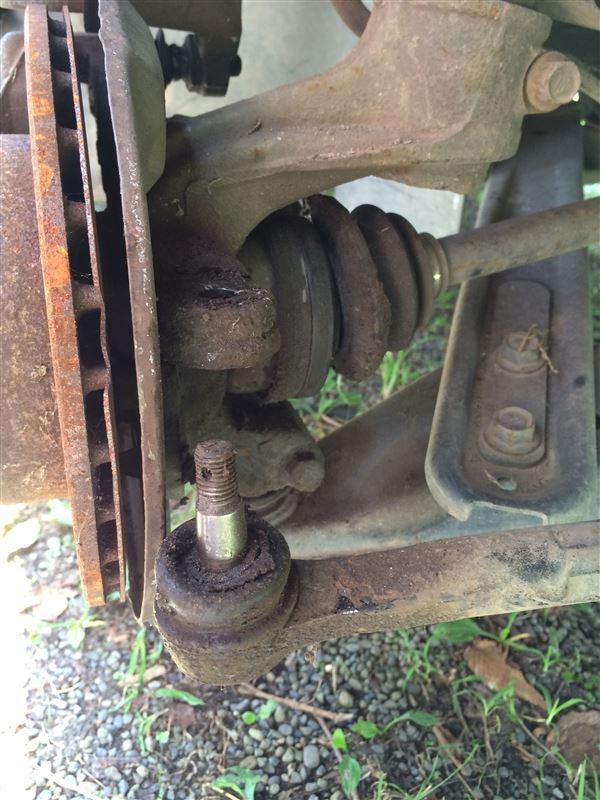
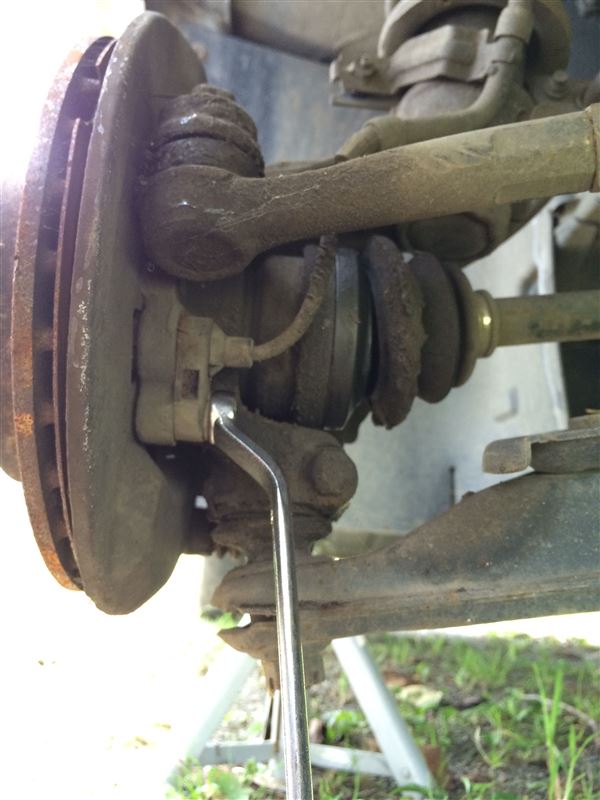
I also removed the knuckle end.
The rubber boot is torn.
I need to replace it…
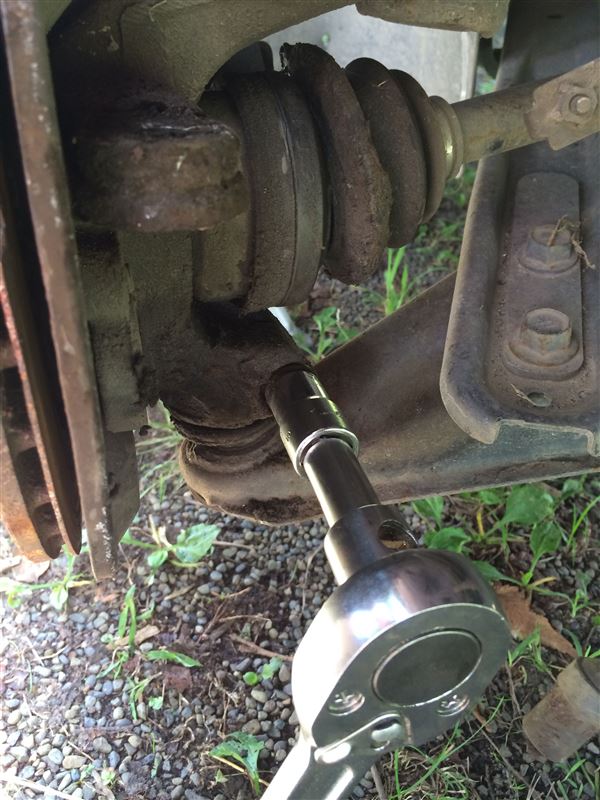
Also remove the connection with the lower arm.
Specified torque: 58±12 Nm for the fixing bolt between the ball joint and housing of the front arm assembly.
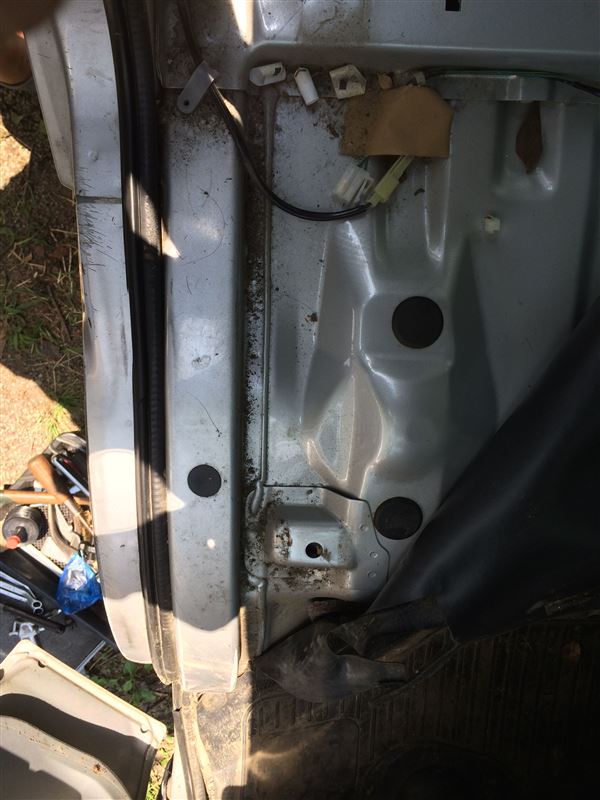
I removed the driver’s seat to remove the upper strut bolts.
You can see two rubber caps on the floor; remove these to access the strut mounting bolts.
Specified torque: 45±5Nm for the upper strut mounting bolts
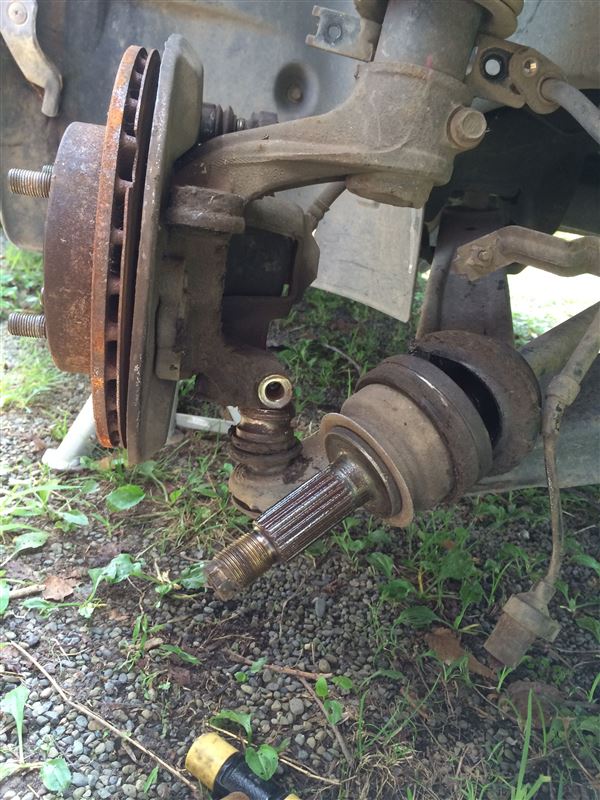
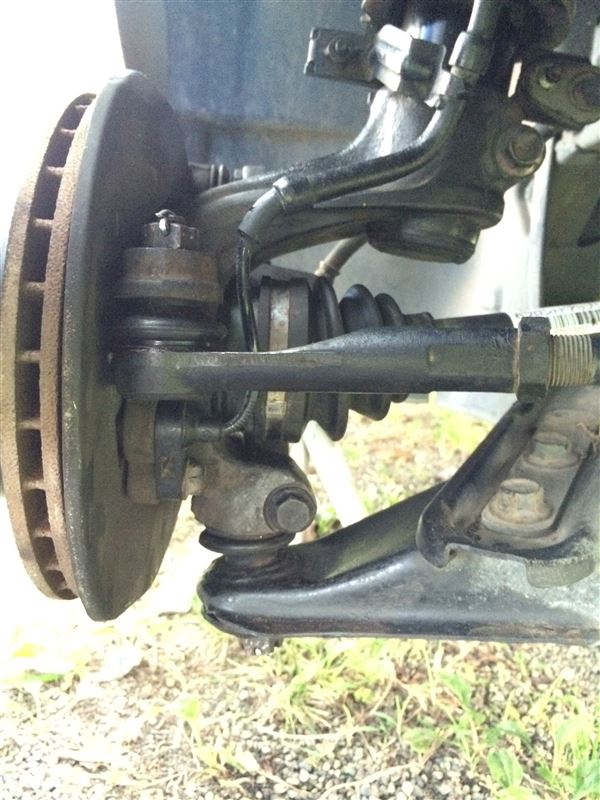
When you move the strut, the driveshaft will come out.
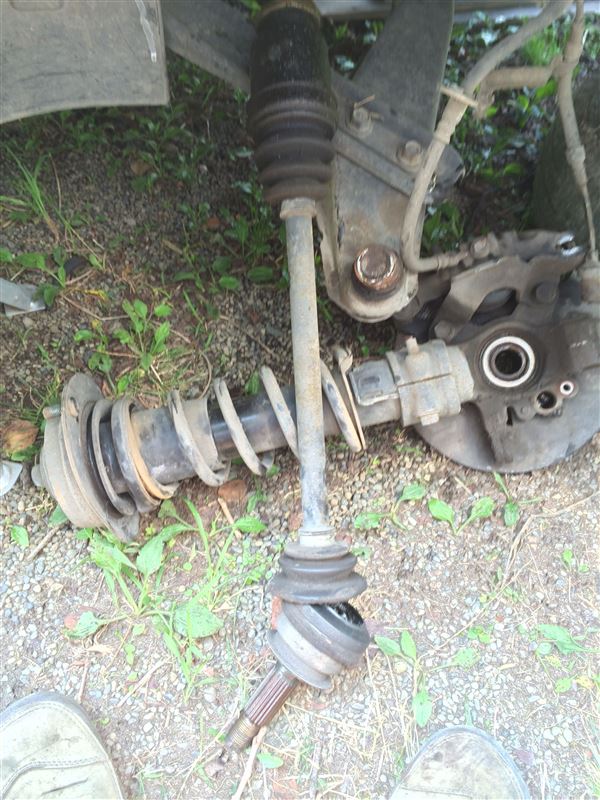
I pulled the drive shaft and it came out of the front differential.
Officially, you need to use a remover tool to remove it, but I don’t have a lift so I can’t get it up high, so I’d prefer not to have to get underneath to do the work if possible.
The rubber boot was torn and the opening was gaping open.
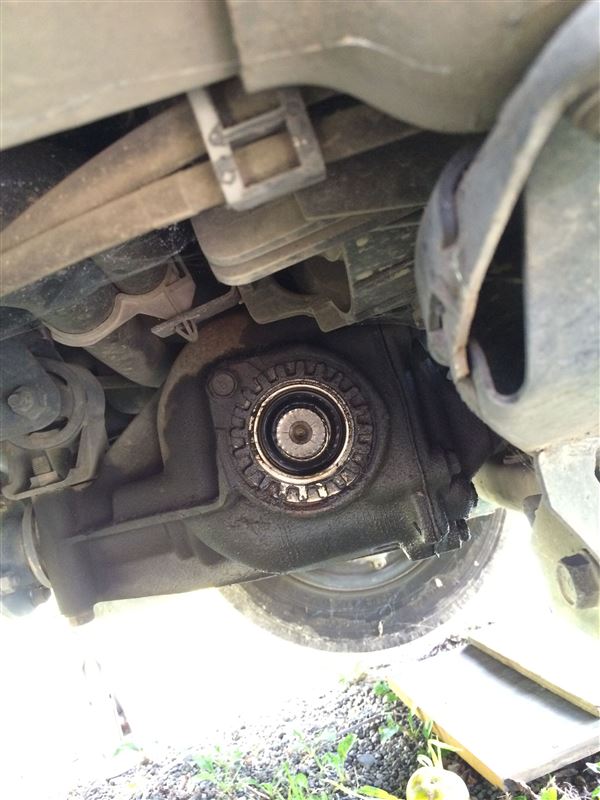
I took a look at the front differential.
It looks like there’s some oil seeping out.
Hmm, hmm, hmm…
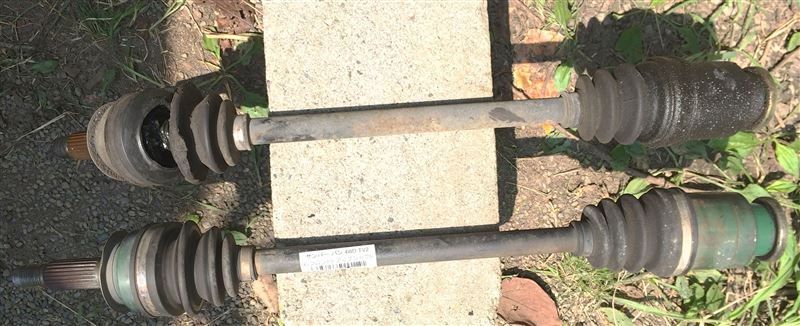
The top is the drive shaft that was just removed.
The bottom is a used drive shaft prepared as a replacement.
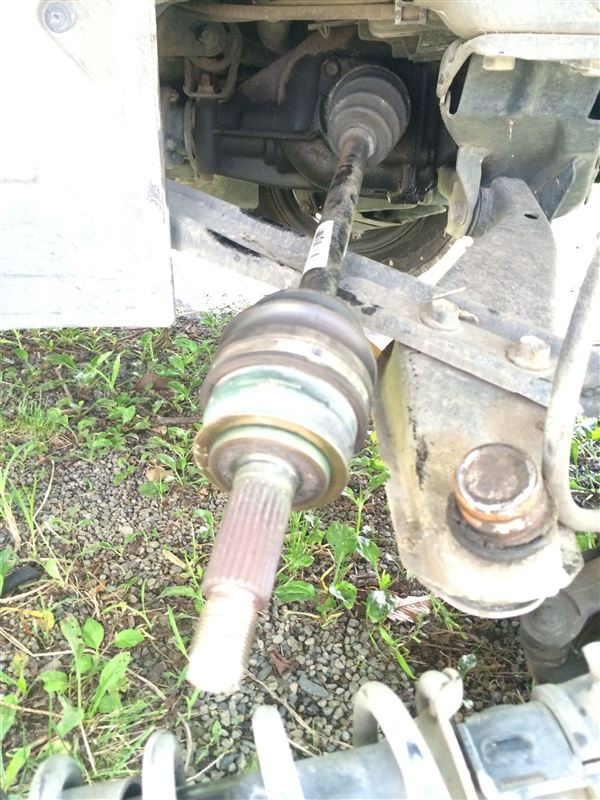
I didn’t want to get underneath after all, so I inserted the drive shaft and gave it a good push.
It fit in nicely, so it seems fine.
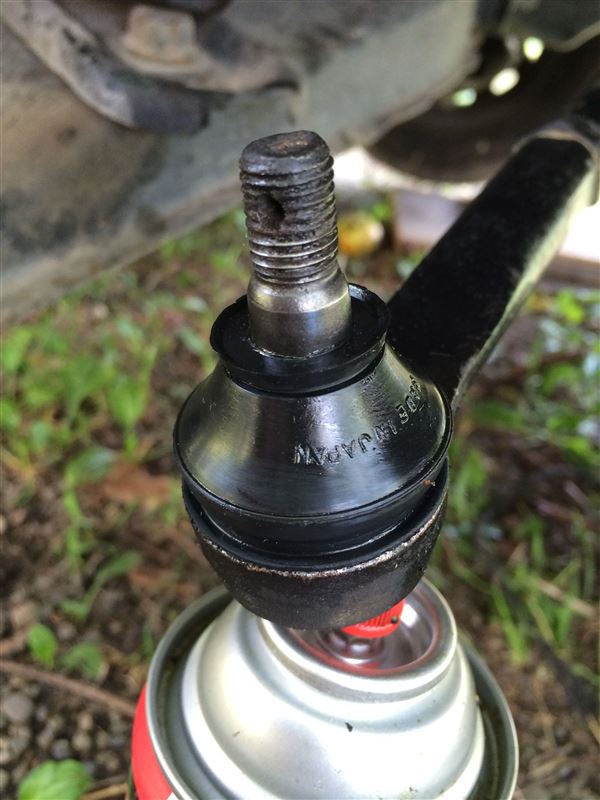
I replaced the rubber boots on the tie rod ends.
Of course, I cleaned the inside and refilled it with grease.
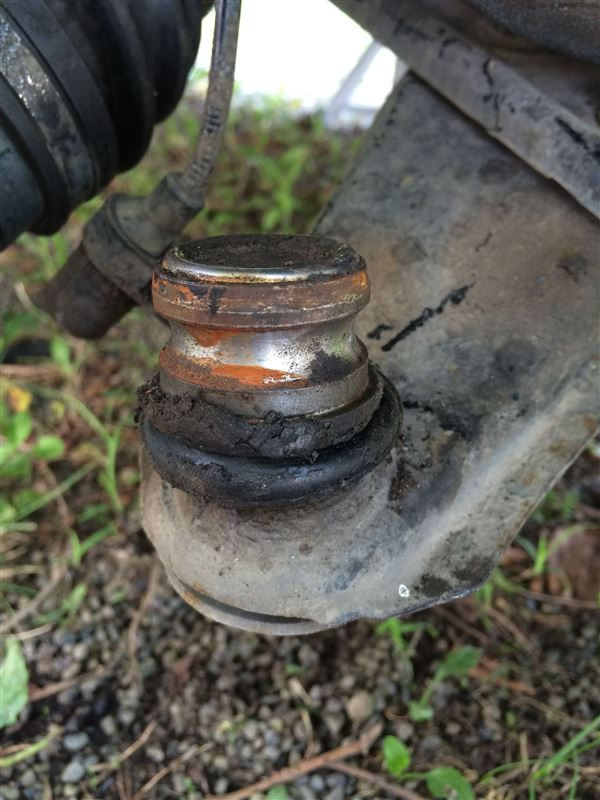
I also wanted to replace the rubber boots on the ball joints of the front arm assembly, but I didn’t have the right remover tool so I couldn’t remove them and gave up.
For the time being, it’s not torn, so I’ll just clean it and save the replacement for another time…
I had a set of used struts, knuckle housings, and brakes ready to use as replacements, so I assembled them.
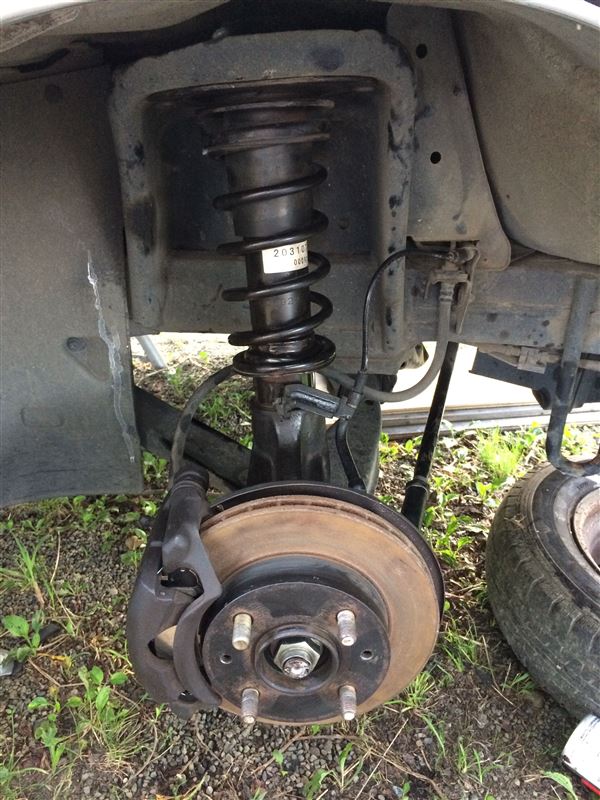
I also put in new brake pads.
The replaced struts, brakes, and other parts are all second-hand, so I used a wire brush to remove the rust from the discs and wiped off as much dirt as possible.
I think it looks a little cleaner now.
I’ll need to change the brake fluid after this, but I’ll do that after the drive shaft on the left side also needs to be replaced and the brake pads will also be replaced.
That’s all for today as the sun sets.
–To be continued–
Comments